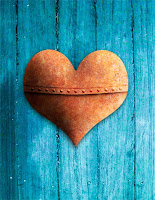
After years of working on movie poster images I've come to really love some of the rich textural treatments the designers I've worked with create. So whenever I am out shooting images for myself I inevitably look for things I can use as textures with other images I may play with later on. I've built up a library with lots of shots of wood, rust, water, greenery, basically anything that looks interesting.
There are lots of ways to use these textures in combination with other images to get some cool looking results. One of the most common ways is to make use of the Overlay Blending Mode. This blending mode basically takes what is in the layer and uses it to increase the contrast and saturation of the layers below. Anything that is neutral gray has no effect and the farther away you get from neutral gray the stronger of an effect it has. We used this blending mode as a way of burning and dodging an image in the previous post. But here we'll look at how it and other blending modes can be used to get some interesting results.
Above is an image I created as an example for a seminar I taught on Channels and Blending Modes. What I want to discuss here is how I created the Blue Wood background for the rusty heart to sit on.
To begin with I dipped into my library of textures and found this shot of some wood that I took on a dock in New York a few years ago.
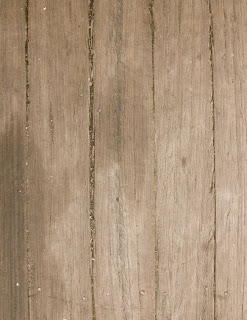
As you can see it's sort of interesting, but a bit flat and it lacks the "punch" I wanted the background to have. After doing a little contrast enhancement I added a Curves Adjustment Layer set to "Overlay" Blending. (Yes, you can use blending modes with Adjustment Layers. In fact it doing this gives you exactly the same result as adding a copy of the image and setting that to the same blending mode - but it adds almost nothing to your file size.) So after this step this is what the wood background looked like.
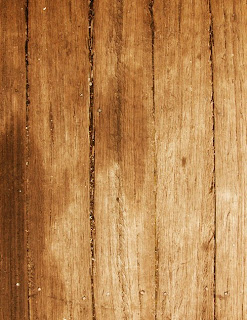
OK, now we're getting something interesting. This has much more drama to it and will work a lot better with the Rusty Heart. But a warm background and a warm foreground image won't really work well together here so I needed to shift the color to make the heart "pop" more. That's when I looked for another texture to add to the wood. Again a trip to my textures library led me to this shot of some water in a fountain that I took several years ago while taking my oldest daughter to Summer Camp.
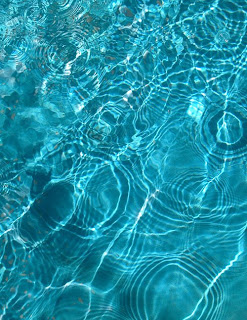
The blue of this water looked like it would work well as a way to set off the heart I had made and so I placed a copy of the water over the adjusted wood image and tried out different blending modes. In this case I really just wanted to use the color of the water to make the wood pick up the blues in the image. I also liked the variety in the color that the highlights from the ripples added and wanted to use those as well.
Of all the blending modes Photoshop gives us there are two that primarily affect color: "Color" and "Hue". The main difference here is that the "Color" mode will affect the saturation of the layers below while the "Hue" mode won't. In playing with the two modes I chose Hue and got this result:
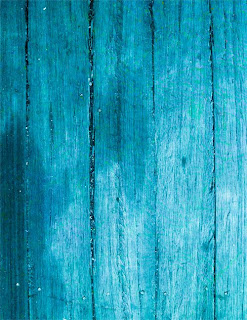
Now that's more like it! By combining a couple of images as textures and playing with their blending modes I went from the drab looking wood to this much more interesting wood that worked much better as a background for the rusty heart. Here is a larger example of what the final image looked like.

Now the bigger question is what textures do you have to play with?


No comments:
Post a Comment